Rendering Into Unknown Territories

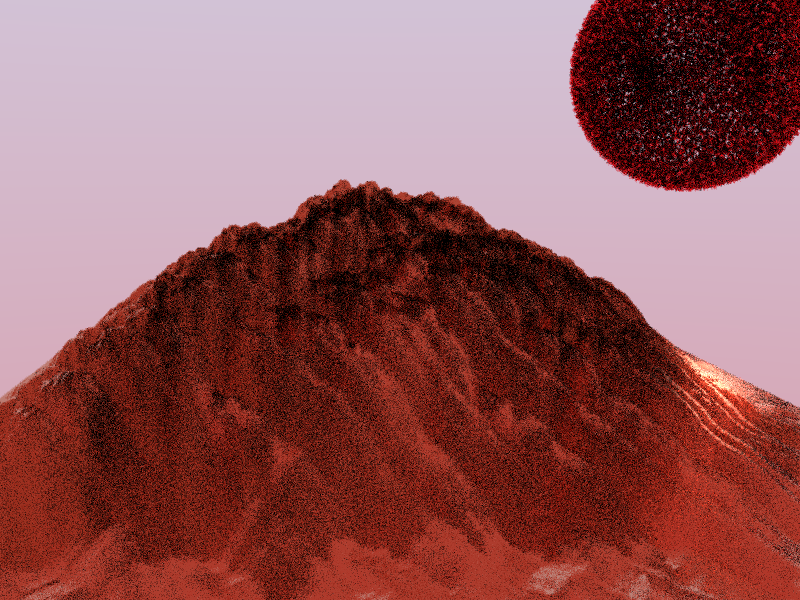
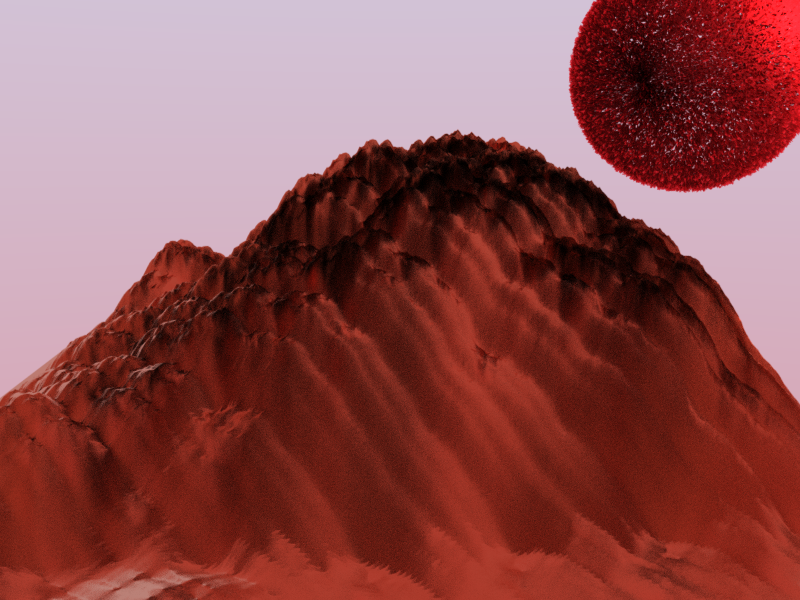
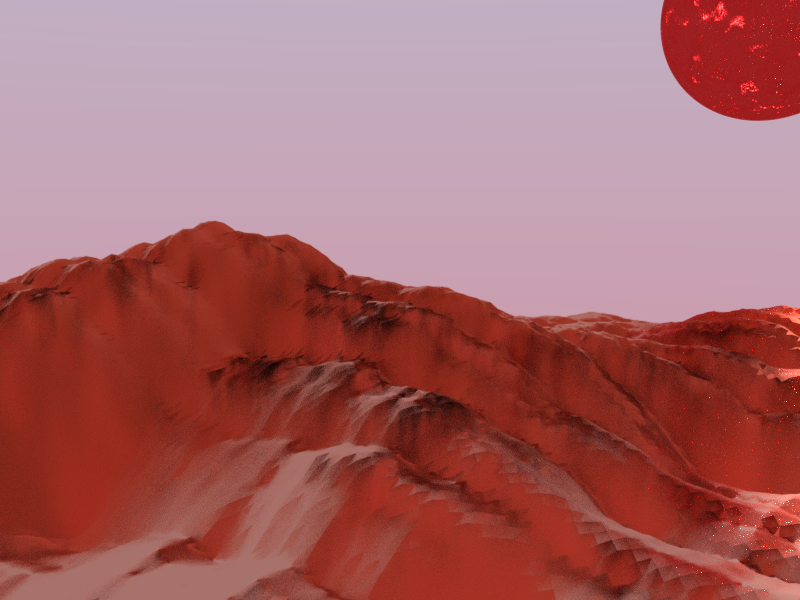
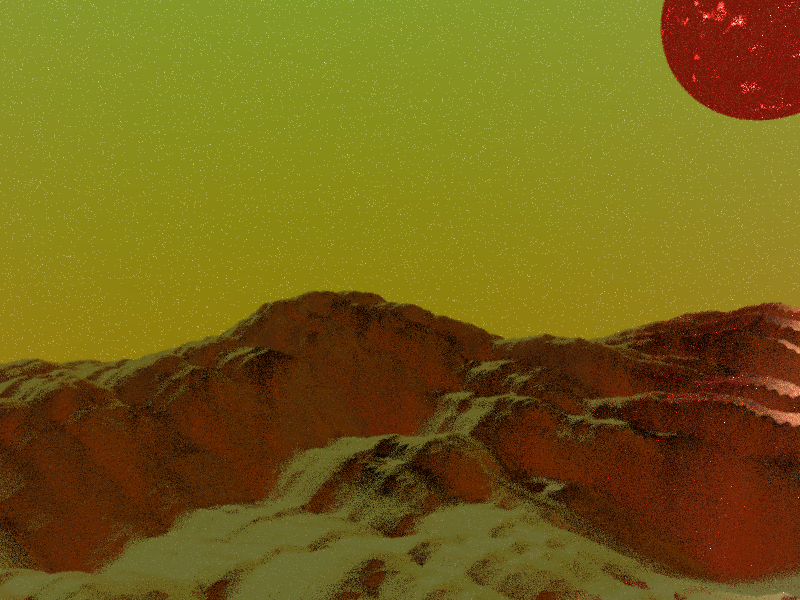
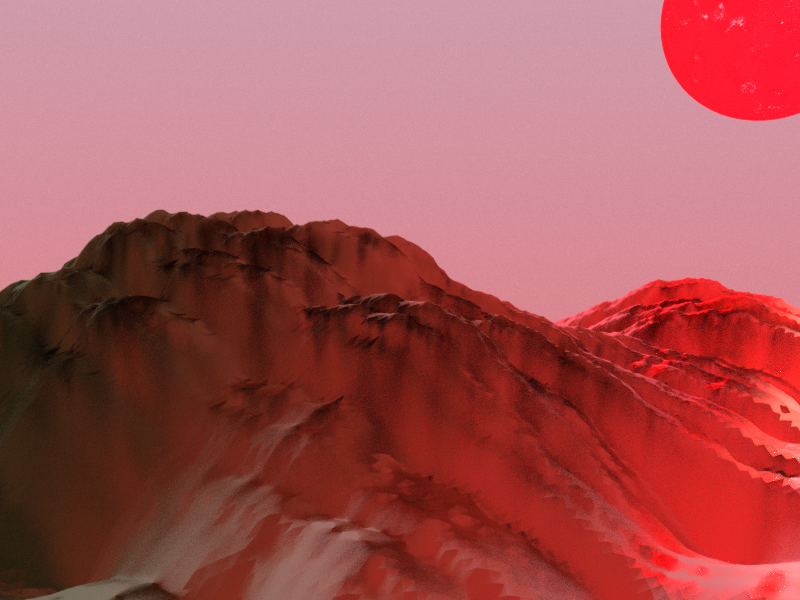
Scene from an unknown planet with a red moon and distant stars. The moon casts a strong red light over the terrain.
Procedural Modeling
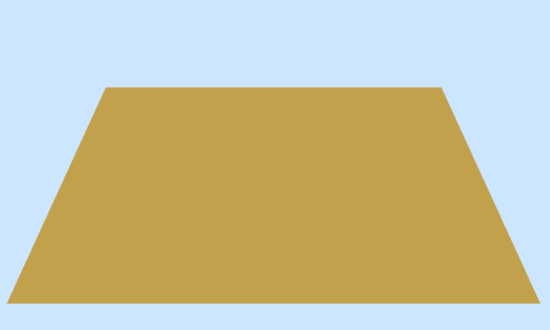
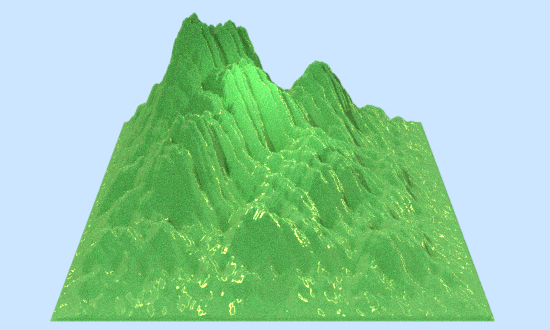
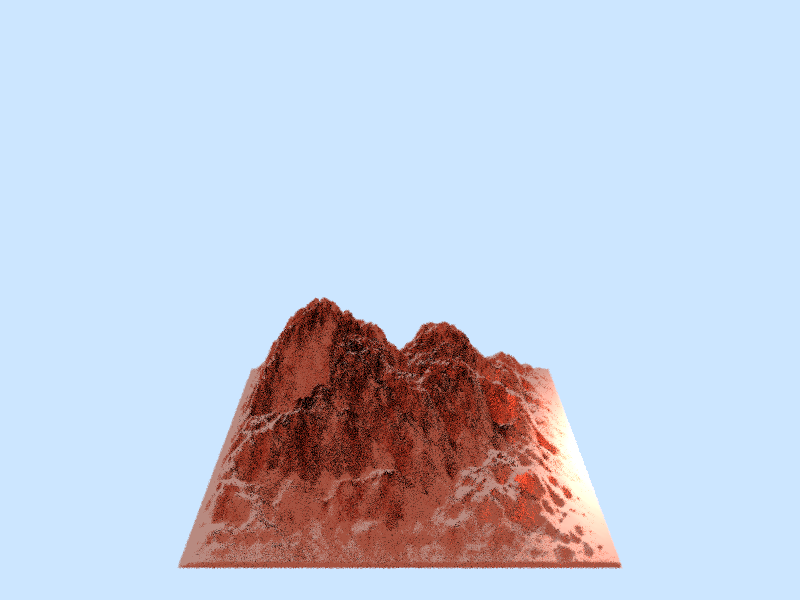
Using some procedural displacement function, one can procedurally generate a complex model from a very simple shape. In this case, I've procedurally generated a terrain-like model by using a simple quad and performing the diamond square algorithm. This resulted in various hills and mountains based on the level of smoothness and variation. The smoothness determines how many times the algorithm runs and variation determines the maximum displacement each time it runs.
Since the diamond square algorithm is also a smoothing algorithm, the more the algorithm runs, the smoother the plane gets, resulting in a flat quad again.
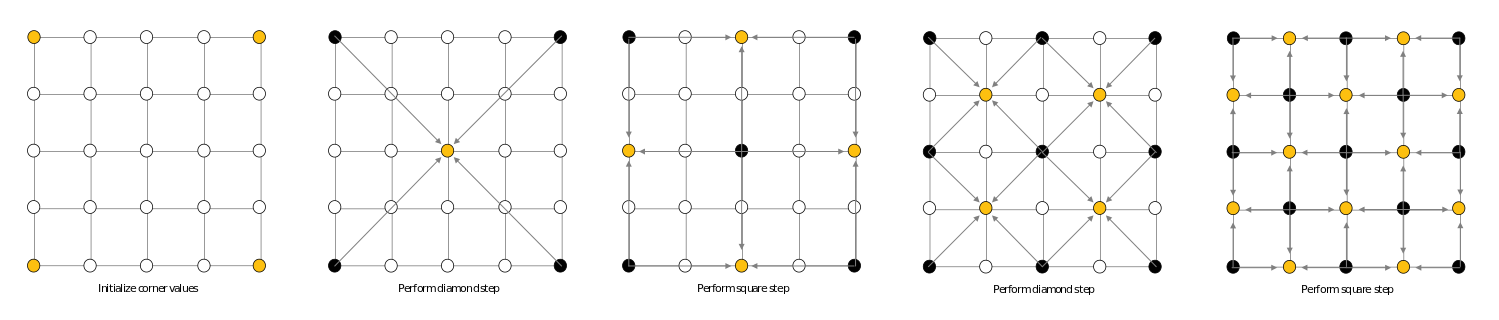
A Visualization of the Running Algorithm
For More Information About the Diamond-Square Algorithm
After I generated the terrain, I still had to recalculate the normals, since all the points were randomly displaced.
This can be done by looping through each vertex and use the heights of the surrounding vertices to determine the normal.
Method 1: Take the cross product of the vertical and horizontal vectors
Method 2: Form the normal vector directly, using the heights of each neighbor
Both are optimal solutions and can be done prior to ray tracing the scene. They essentially do the same thing as well.
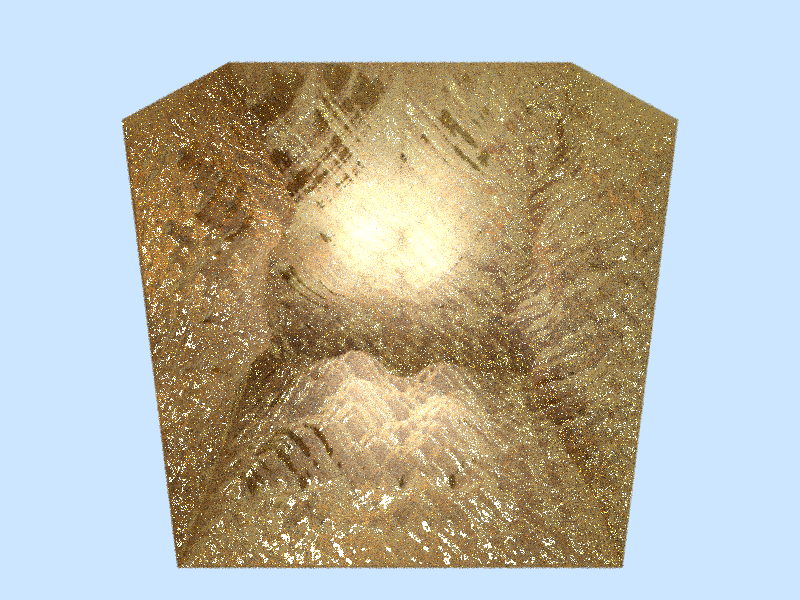
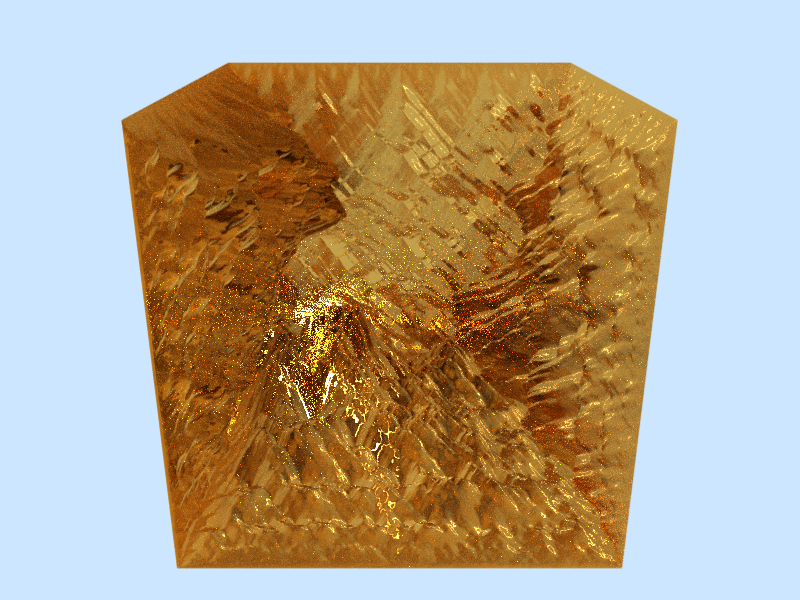
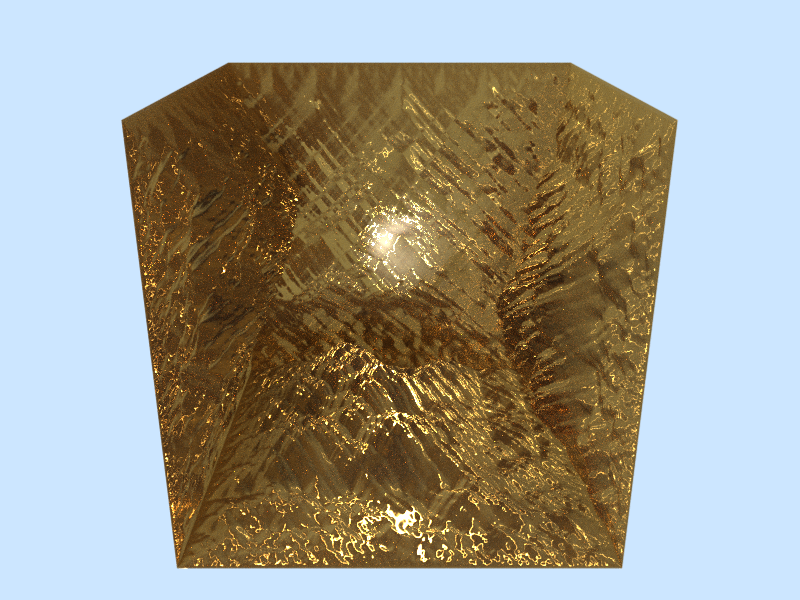
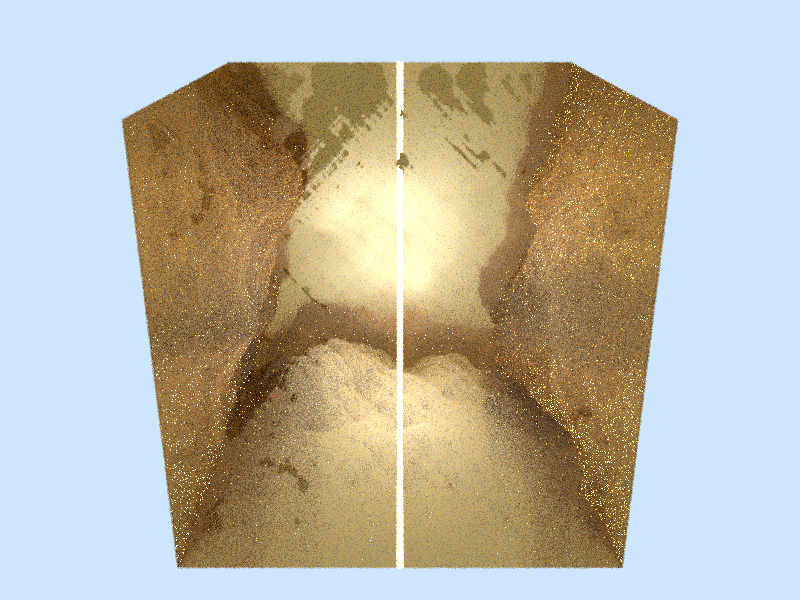
Material and Lighting
After generating some terrains, I rendered some of them with different parameters and number of vertices. I didn't how to incorporate this into a simple scene, so I instead went through different materials and lighting to enhance the edges of the model. Some of these were bright gold or dark copper.
I used...
In the end, I was able to render a scene with mountains and a sun or moon, high in the sky.
Bump Mapping using Normal mapping and Random Displacement
Although the concept of bump mapping is simple, I couldn't find a function to randomly displace points in a triangle mesh that resulted in a polished model. All of them came out butchered or warped in some way that looked sloppy. I tried performing a simple displacement function, but that didn't work out. There were two different options I found relevant to the type of displacement mapping / bump mapping I wanted.
- Displace points and recalculate normals, introduced by Jim Blinn.
- Recompute the normals as if you displaced the points, but do not displace the points.
Reference: Procedural Bump Mapping by Stefan Gustavson
I also tried calculating and using the tangent, bitangent, and normal to orient the surface to a height map. This proved to be more difficult than I thought and I had results that produced images that were incomprehensible. Below, I applied the concept to a simple sphere.
Reference: Interactive Computer Graphics Concepts
This version of bump mapping didn't look right for most cases, so I instead used Perlin Noise and performed normal mapping, then followed it by displacing points in the direction of the normal by a small random amount. This combined both components of bump mapping I wanted, and it gave a unique effect.
Reference: Perlin Noise with Normal Mapping
Adjusting the Sky to Give the Scene an Outer Space Atmosphere
I wanted to figure out what kind of environment to focus on after implementing these concepts. I was curious about making a skybox or just adjusting the sky to fit the scene. I only knew of environment mapping or skybox texturing, but I wasn't sure how to approach this. Steve recommended a simple approach; to offset the sky color and mix it with two different colors: The zenith color and a second color as a gradient.

Final Adjustments

After some final adjustments with various parameters for overall color, the final image is rendered.